Archives

Which sewing machine to buy

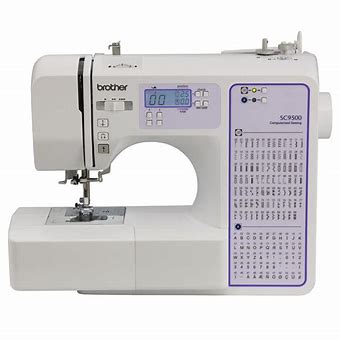
Choosing the most suitable sewing machine can be daunting especially for a novice. Your budget will be a factor. It is also important to remember what your actually needs are. I often hear people say i have so many feet and attachments that I have never used and no idea what they are for. Before you buy think what your needs are, are you a dressmaker, patchworker, quilter or just starting out. For most people a good machine with some decorative stiches. will be sufficient as this will allow you to sew buttonholes, sew zips, different types of seams and hems etc. That is more than enough for most people. Ask yourself do you really need 200+ decorative stitches? Really research the most suitable machine for your needs and budget. It is better to invest in a good quality machine that is going to provide you with longevity.

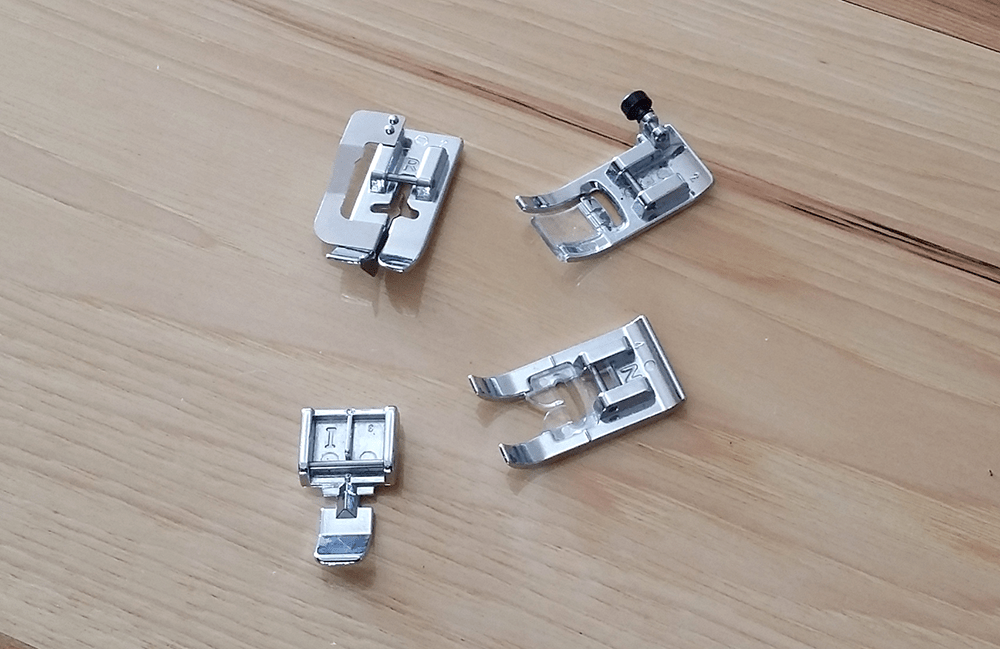
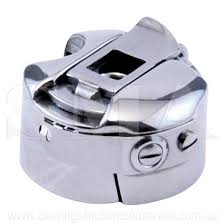
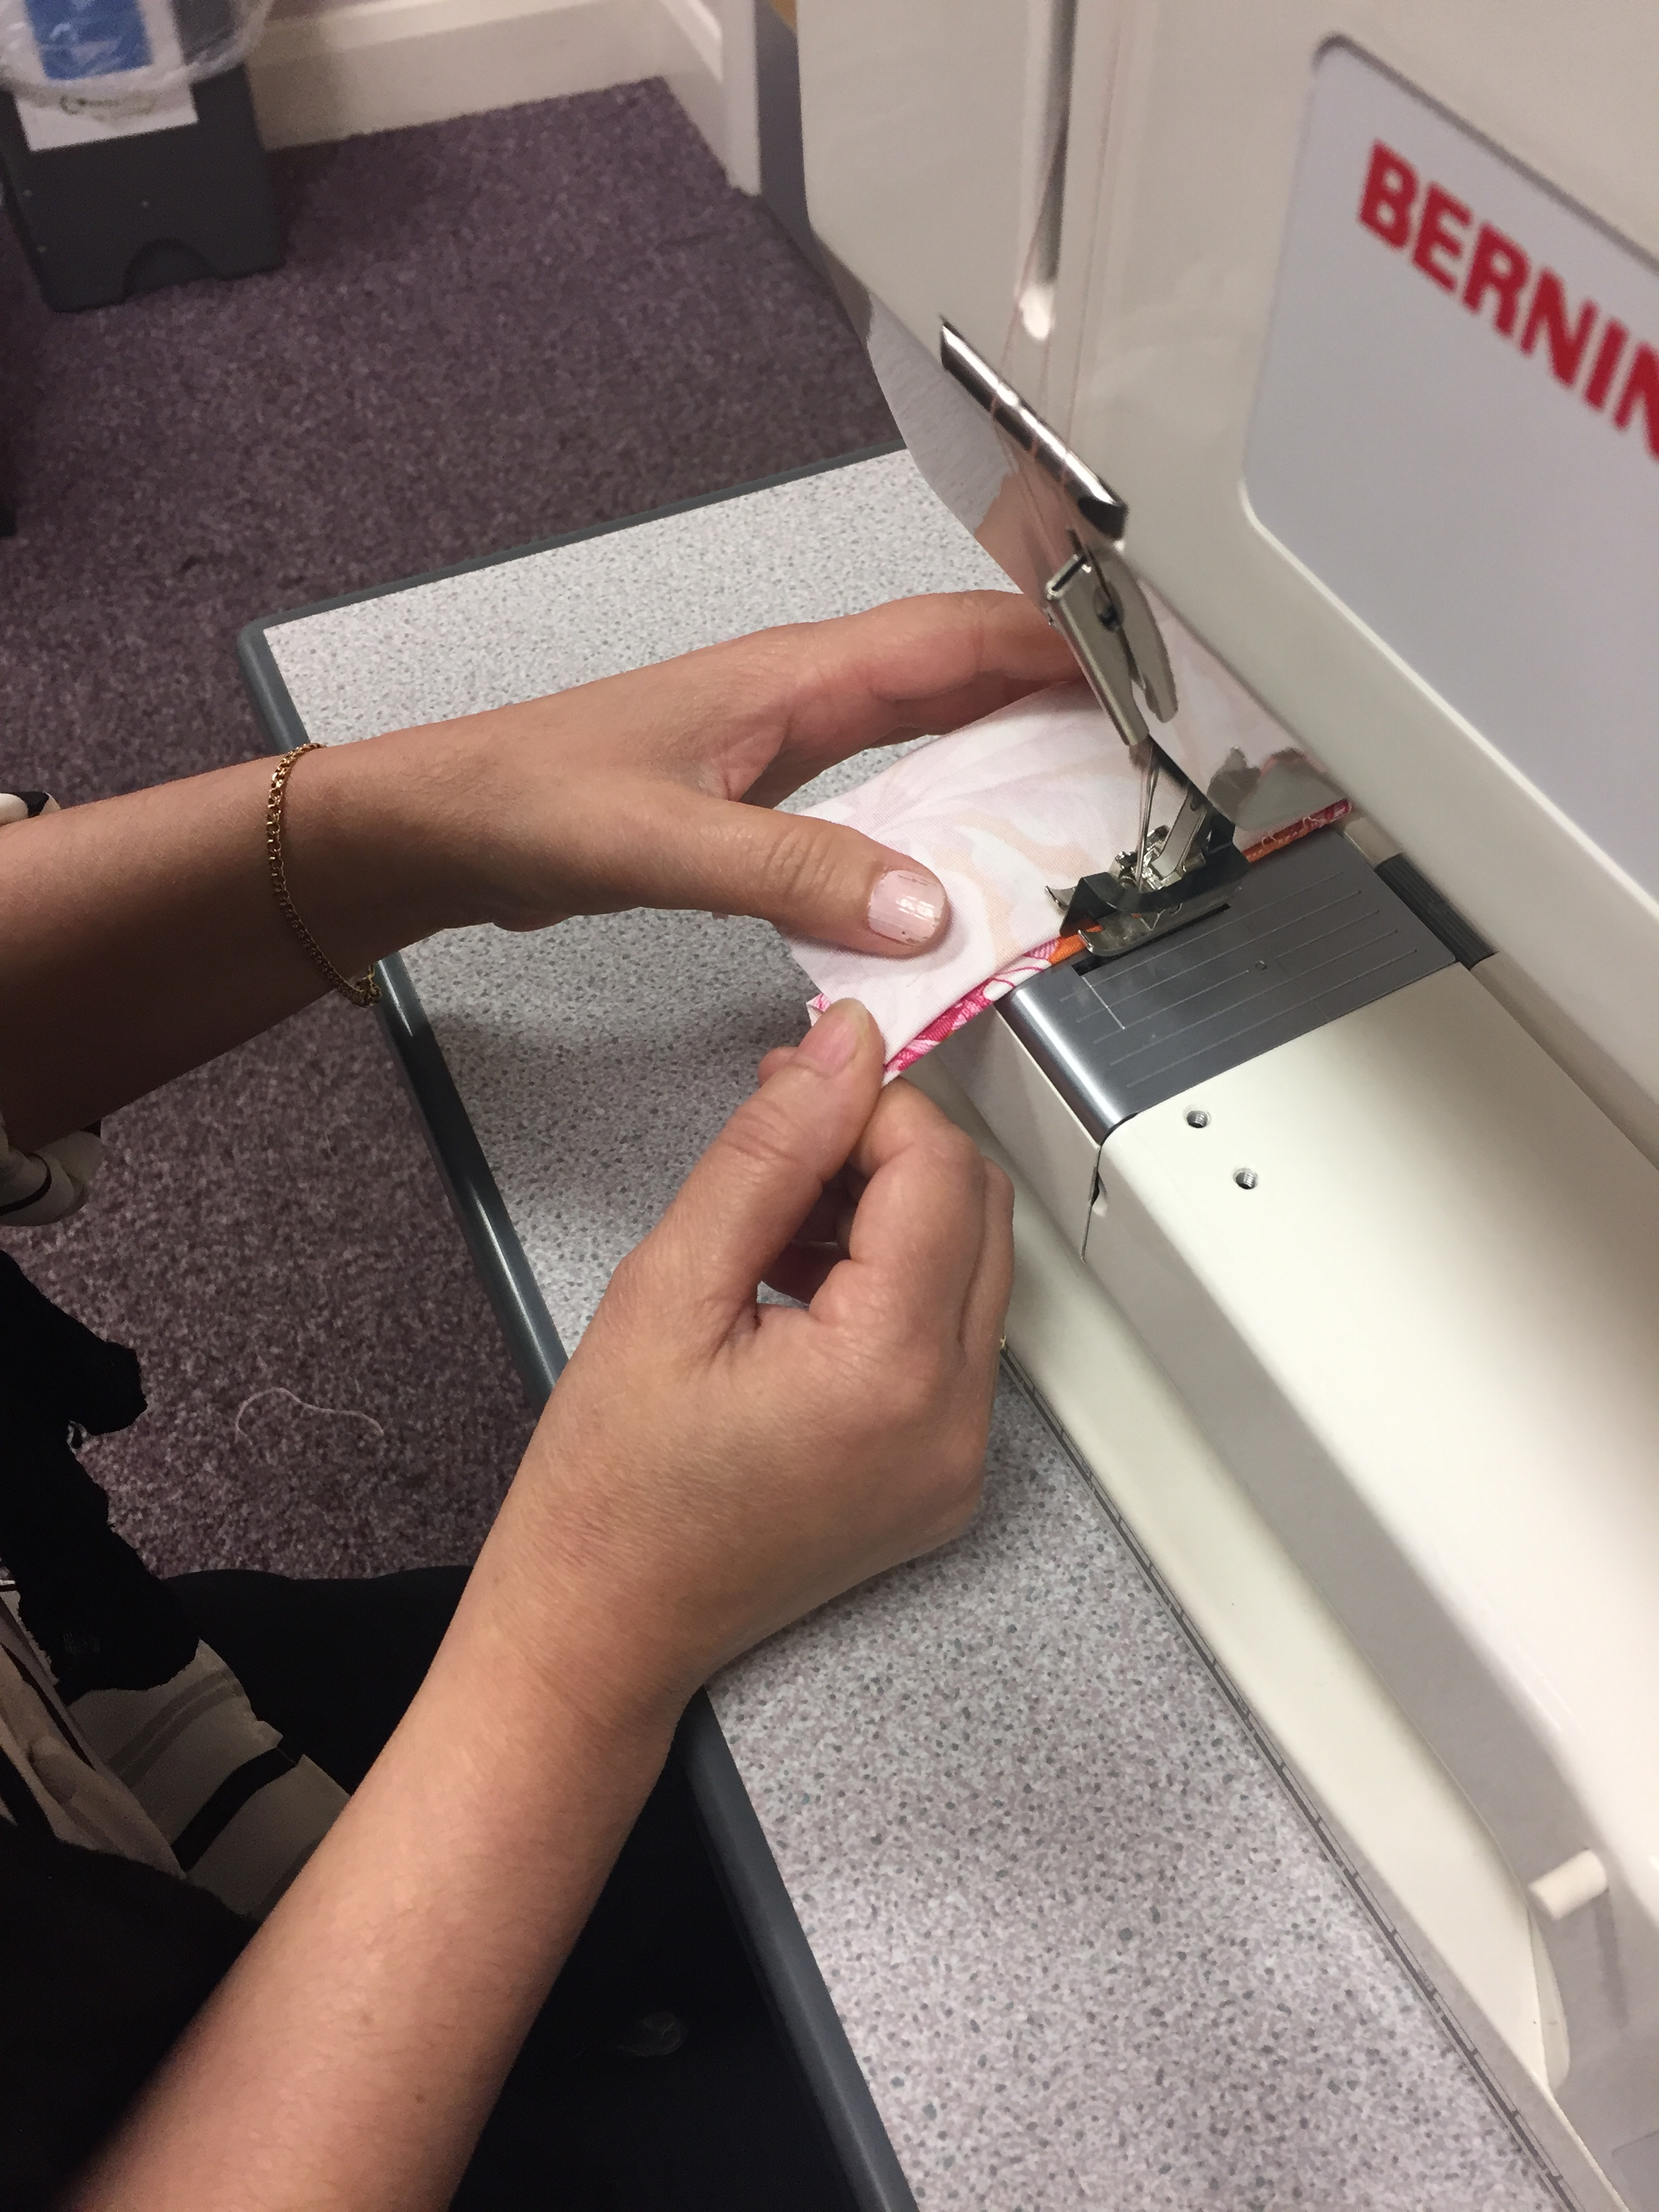
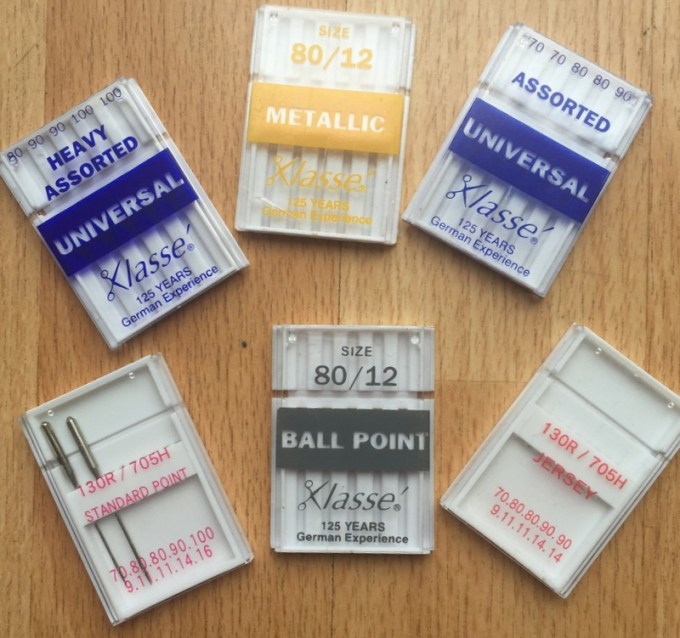
When you buy your sewing machine it will come with some feet and attachments. . It is advisable to identify each one and its use. Some reputable stores offer advice , training when purchasing your machine, it is always good to take this as it will help you get the best out of your sewing machine. They can offer tips and tricks which can be helpful. Learn about the correct types of needles and threads to use according to the different types of fabrics. ( read my previous blog on choosing the right type of needle)

Remember you can always add to your collection of feet and attachments as you become more confident and expolore different hems and seams.

If you maintain your sewing machine and follow the guidelines your machine can last a long time.

Embroidery machines

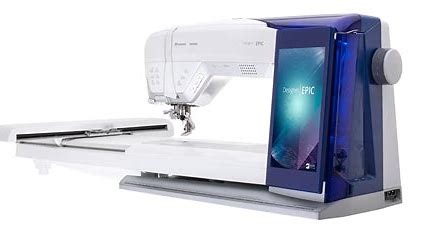
There are many variations of embroidery machines . the price can vary from hundreds to thousands of pounds. There are 2 types to look out for. firstly there are stitches like decorastive stitches that sew . You can have a machine with hundreds of stitches. How many people actually use and need hundreds of embroidery stitches?

Embroidery machines can come in various forms , from having hundreds of stitches built in to the machines or onto discs to having software that allows you to create your very own designs. Before you invest in a embroidery machine it is advisable to do your research to find one that is best suitable for your needs.

Embroidery machine that come with hoop attachments are programmed to sew independetly . all you often have to do is press start and it will automatically and independently embroider. All you have to do is choose the motif or design choose the thread colours and away you go .

Some machines will have designs on disks , some on a usb . You can add to your design collections buy buying more designs . You can also have the option of creating your own designs using the correct software some machines have this option. The beauty of these machines is that every thing is already programmed . these machines are also designed to do monogramming on to fabrics. If you are going to invest in one of these machines try out the machines before you buy , try to go to a reputable stockist as they can offer the right advice.

Advertisement

Sewing tips for beginners.

When using a sewing machine for the first time it can sometimes be a little daunting .below are some tips to help make it a joyful experience

  • Always check the machine and bobbin are both threaded correctly, so often if the machine is not threaded properly it will come undone after threading pull the thread to check it is all the correct thread loopers. check the bobbin tension by placing the bobbin thread in the case (assuming the machine requires a bobbin case) and hold the thread if the bobbin case drops down or feels loose tighten the screw at the side.
use a small screwdriver to tighten this screw
  • Use the correct type and size of needle (See previous blog on needles) check that the needle is not blunt by doing a test sew.
  • Do not wait for the needle to break before changing . Needles often blunt easily , resulting in the surface of the fabric being snagged.
  • Use good quality suitable threads not all threads are the same. often cheaper threads will alter the tension in the stitching.
  • Always do a test sew at the start of every project , this will highlight any problems and save you valuable time unpicking your sewing . This is good practice.
  • To ensure that you sew straight, place the edge of the fabric along the seam lines on the needle plate. Another method is to draw a seam line using tailors chalk and sew along that.
  • When placing your foot on the foot pedal press gently , this will allow you to control the machine at a more manageable speed.
  • Always remember to reverse stitch at the start and end. some machines actually fix function where the first stitch automatically reverses so fixing the stitch.
  • After sewing always wipe down the surface of the sewing machine as occasionally dye transfer can stain the surface of the machine.
  • When having problems always check the manual.

Making a clutch bag


0146a7a056047b8f9fc63a3591fdec71ac9fa577f1

clutch bag


012fd18cb4d8af4ad30fda382b466cd0d6429ee883

 Bag i used to make a clutch


I  love recycling things this was a bag i have had for a while. I  really love the colour so decided to make it into a clutch.It’s great making things that cost next to nothing.

Clutches like this are ideal for so many different uses and can be made from any type of fabric.

The fabric I used is made out PU or faux leather. When sewing this type of fabric use a leather needle.(see post on sewing machine needles) Use a Teflon coated foot which is ideal for sewing leather as it glides along the surface of the fabric.A tip if you do not have a Teflon foot, is to place a piece of sellotape on the base of the universal foot, this should help the foot glide over the surface of the fabric


Measure the length of the zip this will determine the width of the purse.add 3 cm seam allowance  cut 2 equal pieces of  fabric

Fold the seam allowance where the zip is to be positioned. tack the seam allowance. You could press the seam allowance down using an iron but as i am using faux leather not advisable

Place the zip centrally and mark both the stop positions. Pin and tack the zip centrally into position, by tacking diagonally the zip is positioned


01feece48acb2688eb658a719612b1e88d5f06cf51

tack zip into position 


Using the zipper foot machine the zip using a straight stitch.

Remove the tacking.  Open the zip then with the right sides together mark the seam allowance. Machine stitch all the way round.By having the zip open it will be easier to turn the bag the right way round 

01f55f720890dcf7094f5aa152729f75c9c7cbb144 (2)

sew all the way round with the zip open

0146a7a056047b8f9fc63a3591fdec71ac9fa577f1


Choosing machine needles


01c43c0bccc0e5d6140a40d3f04880b2b9baab1ad6

An assortment of needle cases


Choosing the correct machine needles can be very confusing, as you need to choose the correct type as well as the correct size.choose the correct type according to the type of fabric, choose the size according to the weight of the fabric.

Often when there is an issue with your sewing machine it can simply be because of the wrong type and size of the needle. As I mentioned in previous posts needles should be changed regularly. Ideally, before you start a new project

let’s look at the different  types of needles

universal/standard point

These type of needles should only be used for sewing woven fabrics such as crepe de chine, silks, voiles, cotton, suiting. a good general purpose needle

jersey/ballpoint /stretch 

These needles have a more rounded point ideally suited for sewing stretch and knitted fabrics as it can pierce through without damaging the fibers . if universal needle was used for this type of fabric it would skip stitches, pull and  gather the fabric. for highly stretch fabric or elastic then a stretch needle would be more suitable.

jeans/denim

This type of needle has a very sharp point which can pierce through the material s without damaging the fabric.

microtex (sharp)

This type of needle is for foils, faux leather, and coated fabrics. The sharpness of this needle is ideal for precision stitching  piercing through the fabric without damaging it

metallic/embroidery

These needles are designed for metallic and embroidery threads, they have a larger eye to feed the thread through to stop the thread from snapping and breaking.

leather

This type of needle is suitable for sewing leathers and faux leather.

quilting 

This needle is designed especially for machine quilting as it is able to pierce through layers of fabric and eliminate skipped stitches.

Choosing the different sizes generally depends on the weight of the fabric


Needle chart size

Type of fabrics European needle size. American needle size.
Crepe de chine, lightweight cottons, lawns, chiffon , Georgette, polyester, silks, jersey 60

65

70

75

8

9

10

11

Linens .medium weight cotton, suiting, double knits, modal, 75

80

90

11

12

14

Denim, suede, tweed, gabardine ,

Upholstery fabrics.

90

100

110

14

16

18

Making a waterfall waistcoat

017f7b302b00de5a2a150204f1872af6d5e92f17dd

simple waterfall waistcoat

This is a very simple waistcoat for the beginner or the more experienced dressmaker. This is a project you can make in an afternoon with very little sewing.

You will require a fabric that is at least 148cm wide. You will require 1 1/2 meters of fabric. The whole pieces of fabric should be a square piece of fabric when  opened out.

Cutting the fabric 

Fold the fabric in half then fold again. From the corner measure the radius and draw a curved line cut around the curved line.

EPSON MFP image

fabric folded, arrows represent the radius

You should now end up with a circular piece of fabric.

The second stage is to cut out the armholes.

Fold the circular piece of fabric. Measure halfway and place pins along the  center line instead of a chalk line.

EPSON MFP image

Place pins along the center

The armholes are 18cm from the midway line .

The length of the armhole is also 18 cm long.

The width of the armhole should be no more than 12cm wide.

01f4a94deb15e6c5ba66503581ff0c2132756d3e42

Cut out the armholes.

You should end up with a circular piece of fabric with two holes in.

All you need to do is now is to machine stitch all the way round using a small zigzag stitch or if you have an overlocker then use this instead.  Stitch  around the armholes as well to stop fraying.

Care of your sewing machine.

Looking after your sewing machine is important. Having a good understanding of this, following these simple rules will help prolong the life of your machiine and avoid unnecessary repair bills.

How often should I clean my machine?

Ideally after each use you should wipe all around the sewing machine using a soft cloth. The shuttle area should also be cleaned regularly do avoid build up of fluff and dust.


Where do I clean?

Clean around the machine using a soft cloth. Use a soft brush to clean around hard to reach areas. if your machine has tension discs use a piece of thread to clean between them as dust can easily settle there.

When  your sewing machine is not in use, always place a cover to avoid dust settling in and around the machine. To keep your sewing machine operating well clean the exterior using a soft cloth wiping from the top to the bottom,  clean in and around the thread regulator.

Cleaning around the shuttle/ bobbin area.

01d6173cb3206ce8bc2ee4401dfe690055e2b3d83f

Drop down bobbin. Feed teeth located  under needle plate.

Remove the bobbin case, clean the area with a lint brush. Ensure you remove any pieces of thread or fluff. Lower the feed teeth and clean using the brush. Compressed air cans are also useful for cleaning the area below the bobbin area.  Never use a wet or damp cloth around this area as this can damage the machine.

0124537d062383dc6ff72a20bdfdf4e7ab6ab4ae68

Remove bobbin case holder.

0173ff315b2d3deb6f395884d60c9d6562b2356306

Bottom of the bobbin area must be cleaned  using a brush.


Change your needle regularly!

Prevention is better than cure so regularly change your needle . manufacturers often recommend that you change the needle  every time you start a new project. If it a long project then change the needle a number of times.

How often should I oil my machine?

Always follow the instruction manual when oiling your machine it is worth remembering that not all machines need oiling so check with your  manufacturer.

Troubleshooting

When first experiencing problems check then rethread the top thread and bobbin.

Fabric puckers

Check needle as it could be damaged.  Rethread  both top and bobbin thread. Ensure that you are using the correct type and size needle. Use a quality thread.

Skipped stitches

Check needle it could be damaged. Ensure needle is inserted correctly all the way into the clamp.use the correct type of needle.If using jersey or stretch fabric ,use a jersey/stretch needle Rethread both the top and bobbin thread. Use recommended presser foot.

Needle breaks

Use care not to pull fabric when sewing. Check bobbin case is inserted correctly.Check needle plate is correctly placed .Ensure correct needle type and size. Check the needle is inserted correctly.


Poor tension.

Rethread both top and bobbin thread. Check tension discs for fluff.

Fabric does not move

Check the feed teeth is up. Check stitch length. use the correct size and type of needle.

Upper thread breaks.

Check for correct threading. Check the needle plate is placed correctly and check for  damage.

Bobbin thread breaks

Check bobbin threading. Wind a new bobbin.  Check needle plate is placed correctly and check for damage.


Why pin tack &sew?

Good preparation is the key to success, by taking the time to plan and prepare you will actually save a lot of time and stress.

I have been making clothes since my early teens. It has allowed me  to wear clothes that are unique and individual.  I believe what you wear says something about who you are, choosing bold colours, styles and  textures all go a long way to help create that personal  style.

My passion for sewing continues today. I have been teaching pattern cutting and dressmaking  for over 15 years. I love creating my own patterns but I’m also happy to use a commercial pattern and adapt that to my personal  style and shape.

Refashioning existing clothes and making something new is a great  way of saving money, yet having something   truly unique.

Soft furnishings is also something I truly enjoy. The satisfaction of making something for the home  is so gratifying .I have created beautiful window treatments, cushions for my home.

I plan to share my ideas and experiences as i know there  are many like-minded people who share the same passion as i do.

Saeeda.